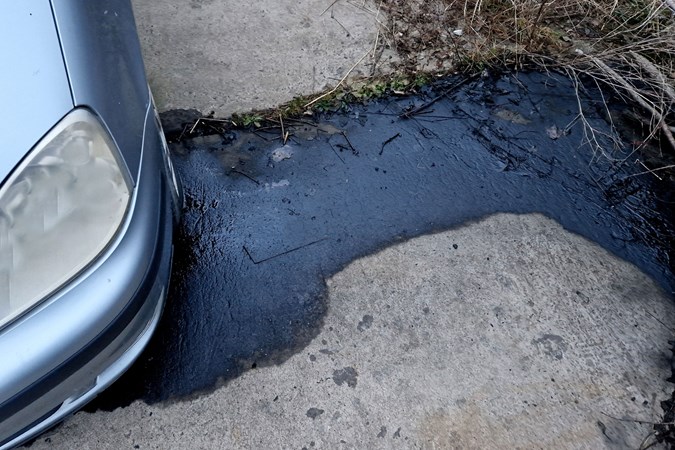
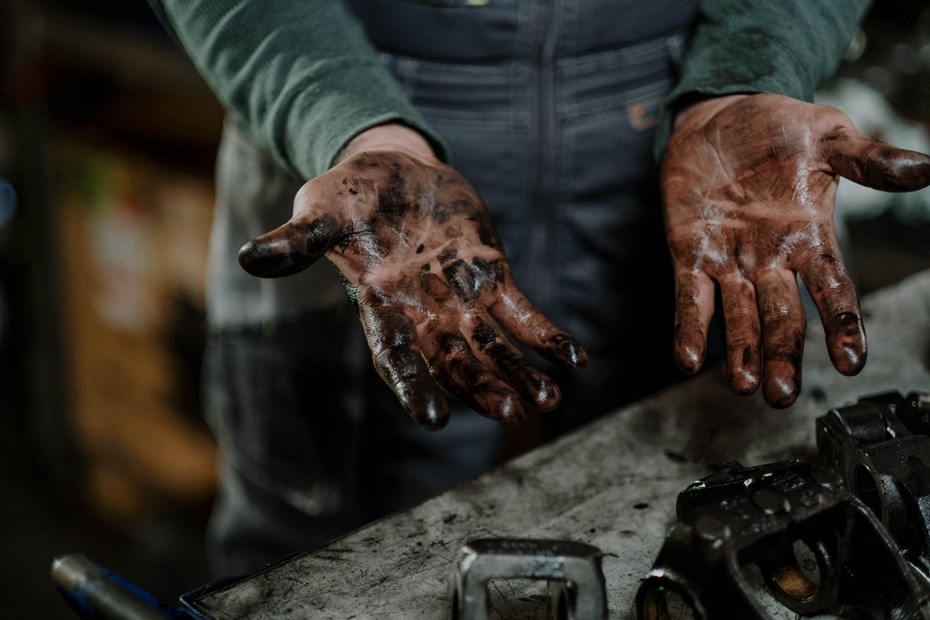
If you park your car in a garage for long enough, there’s a good chance you’ll end up with an oil spill.
Oil spills can occur for a number of reasons – piping faults, a slip when changing an oil filter, or the mishandling of oil jugs when topping up or maybe it’s just time your old classic was put out to pasture.
If not swiftly addressed, the chemicals could be picked up by oblivious footwear and trampled through your home with potentially dangerous consequences. Worse yet, the stain left from an overlooked oil spill could leave the condition of your automotive home subject to unbridled ridicule from your other garage-owning friends.
If you spot an engine oil spill, it’s important to address the situation right away, but don’t be fool into thinking this is some trivial cleaning exercise. To get the job done right, without any residue left nor unattractive stains, it’s important to follow a few steps. Not sure how? Here’s a quick guide to get you going.
Step one: Absorb
To begin the clean-up process, you’ll first want to absorb as much of the excess oil as possible. This will get most of the mess out the way, leaving just the oil stain to contend with, rather than attempting to scrub up a viscous liquid material.
Start by sprinkling a generous amount of absorbent material over the oil spill site, leaving a thick layer over the top. The material you use is completely up to you, but we would recommend skid-proof, non-flammable absorbent granules for the best results.
Other alternatives could include sawdust or kitty litter tray material to soak the spill. Once the material has been layered over the top, allow it to sit and absorb for 24 to 48 hours. Note, if it’s a sizeable puddle of oil, you may have to repeat this process twice. After this step is complete, the coarse material should be ready to sweep or pick up with a spade or shovel and dispose of.

Step two: Saturate
If you still have a lingering stain, you can saturate with a cleanser material to get the oil up. For this step, you have several options but we would recommend using a penetrating oil like WD-40 as it’s a fast-acting non-conductive cleaner. If you have no WD-40 to hand, try using washing-up liquid or laundry powder.
Like the first step, apply the cleanser material to the oil spill site and leave it to sit on the stain for roughly one to two hours. During this time, the cleansing material will begin to break down the oil by cutting into it – as opposed to a water-based solution that won’t mix – thus lifting the stain.
Step three: Scrub
Next, scrub the stain down. To really lift the stain from the garage floor, it’s important to use a stiff, invasive brush as any soft-bristled broom or cloth won’t be strong enough to tackle the pores of the concrete. We highly recommend using a wire brush or broom at this stage.
Add a little more of the cleaning solution to the stain site and begin scrubbing down. It’s important to apply firm pressure as, depending on how long the oil spill had been there, it may take some scrubbing before the stain has been entirely lifted. Add a drop of water to the site to help the scrubbing process.
Next, hose the site down or use a pressure washer then leave it to dry. At this point, the stain should be gone, but if a mark does remain, try repeating steps two and three again.
Step four: Paint
If your garage floor really is a lost cause of stains, marks, and chips in the concrete, why not give it a paint? Garage floor painting is simple and not especially expensive but does the job of providing any automotive sanctuary with a new lease of life.
What next?
Once the stain has been removed and the garage floor painted should you so wish, the last step is to identify why and where the oil spill came from. If it was due to a mechanical fault, have it looked over by the professionals and duly mended – you don’t want to have to repeat this process again.
How can I prevent future oil spills from damaging my garage floor?
To keep your garage floor in top shape, consider using floor mats or drip trays under your car to catch any leaks before they cause stains. For some added protection, sealing your garage floor with a durable coating can make future clean-ups much simpler, preventing oil and other fluids from soaking into the surface and causing long-term damage. It’s a small investment that can save you a lot of hassle down the line.
Sign up to the Parkers Newsletter to keep up to date with more of the latest reviews, news, and recommendations from the Parkers team.
Just so you know, we may receive a commission or other compensation from the links on this website - read why you should trust us.


