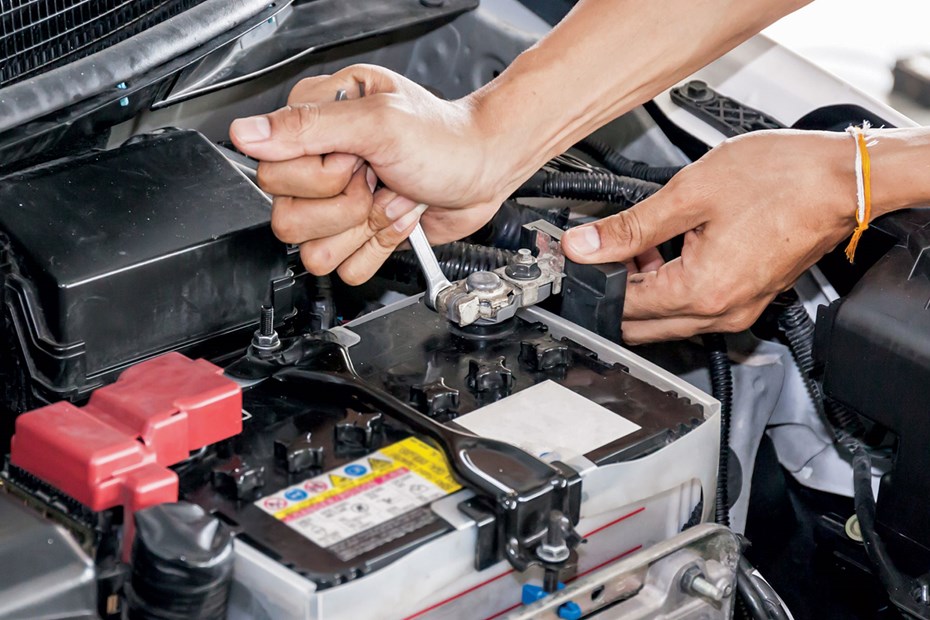
To a newcomer, the thought of disconnecting your car battery can seem quite daunting. It may come as a surprise, but it’s actually simple and only requires a few tools. Of course, it’s important to be cautious when doing any DIY work involving your car’s electrics. However, with a few precautions and our step-by-step guide to help you, it’s a straightforward process.
Let’s dive into the exact steps you should follow to safely disconnect your car battery.
Why and when should you disconnect a car battery?
For the most part, many of us will only disconnect and remove a battery when it needs replacing due to failure. However, if you’re not going to be using a car for a long time it can be a good idea to disconnect its battery.
Small electrical drains can eventually flatten a battery, potentially causing damage if left flat for weeks. Keeping a reliable battery charger on hand can help maintain the charge and prevent damage, even if you prefer not to fully disconnect the battery

You might also want to disconnect a car’s battery if there is an electrical problem that is causing the battery to get drained quickly.
Disconnecting the battery will at least stop the drain and hopefully leave you enough charge to start the car, once the battery is reconnected, when you next need to.
Alternatively, you might need to work on the car’s electrical system, or you could be having some welding carried out on your car.
In these cases, to protect the battery and the electrical systems, you’ll want to disconnect the battery before carrying out the work.
How to disconnect a car battery
1. Read the owner’s manual for your car
Start by checking the owner’s manual. It should tell you where the battery is, and how to disconnect it, and it might also detail potential pitfalls.
You might find, for example, that it explains what you should expect from the car when the battery is disconnected and then subsequently reconnected.

There may be security systems you need to be aware of beforehand, or features that need resetting after, and reading the manual first will help avoid any unexpected stumbling blocks.
If you’ve got an older car, spare a moment’s thought about the security code for its stereo.
2. Take basic safety precautions
Before working on your car, find some protective gloves. Simple disposable nitrile gloves will do, as will inexpensive mechanic’s gloves or similar.
Aside from keeping your hands clean, they will help protect you from any battery acid that has leaked out. Protective glasses are a good idea, too, and essential if you can see signs of leaks.

Remember to remove any metal jewellery as well, to avoid the chance of creating an electrical short and giving yourself a nasty injury.
3. Find your car’s battery
If you’ve not had the chance to check your owner’s manual to confirm the car’s battery location, start under the bonnet.
Other common locations include the boot, or beneath the rear seats, and in some cases the battery may be obscured by plastic covers.
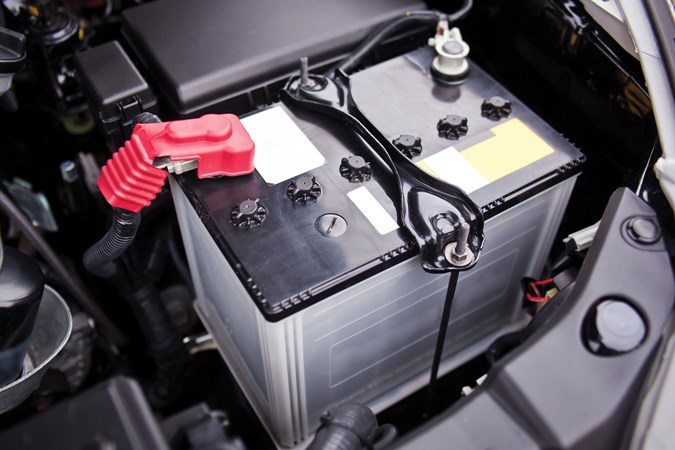
In any instance, you’re looking for a large plastic box that has two metal terminals or screw-in fixtures protruding from it.
There will be substantial cables connected to these terminals, and the battery itself will have obvious markings that make it easy to identify.
Some luxury cars may have two batteries fitted, one of which supports convenience or comfort functions. Remember to confirm that you’re looking at the right one before disconnecting it.
4. Prepare the car and turn everything off
Start by making sure the car is in a safe position to work on, and check that it is secure and unable to roll.
Next, make sure everything is off, such as the lights. Then, unless your manual says otherwise, check the ignition is off and remove the key or fob.
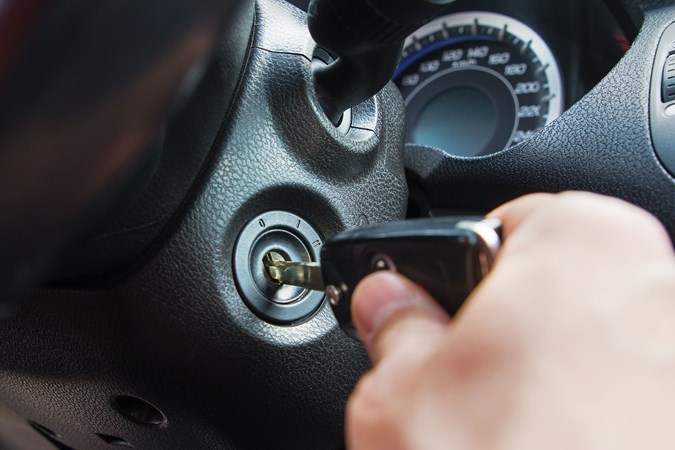
This is particularly important in cars with mechanisms that hold the key fob, as disconnecting the battery can lock the fob in place.
Make sure to unlock any required doors, or open the boot, before disconnecting the battery; similarly, in cars with electronic parking brakes, make sure it has been activated first.
Electronic locks won’t work once the car battery is disconnected, and features using electronic mechanisms won’t work either, which could quickly become a point of annoyance.
5. Identify the battery’s negative terminal
If any protective plastic covers shield the battery, remove them first.Once you have a good view of the battery, you should be able to see two cables running to it, the clamps of which each go to their own terminal post on the battery.
One of the terminals will be the positive, the other the negative, and there should be markings on the top to help you identify them.
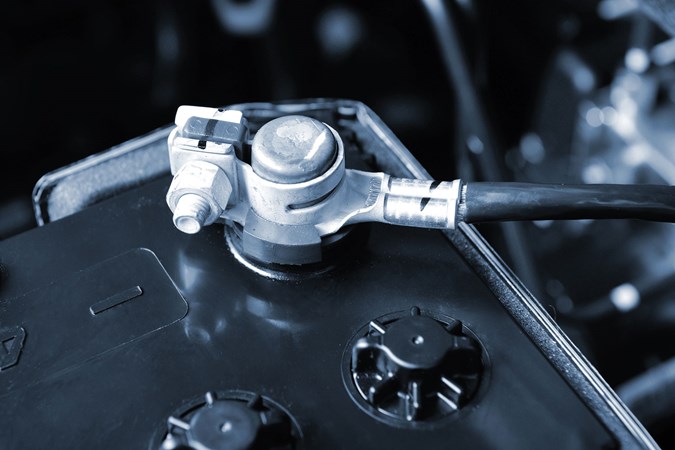
The positive terminal will be marked with a positive sign (+) and its clamp will often be covered by a protective red cap. In some cases, the cable running to this terminal will be red.
The negative terminal will be marked with a negative sign (-), and it’s the clamp on this one that you want to disconnect first.
If you disconnect the positive first, you could easily create a dangerous and powerful electric short by, say, accidentally touching a spanner to the positive terminal and the car’s metalwork.
You also want to avoid anything metal contacting the negative and positive terminals of the battery at the same time.
6. Disconnect the negative terminal
Always disconnect or remove a battery by undoing the negative terminal clamp first. Using a suitable small spanner or ratchet, undo the fixings that are holding the clamp to the negative terminal of the battery.
You’ll probably only have to loosen the fasteners a little, and then the clamp should pull up and off the battery’s terminal.
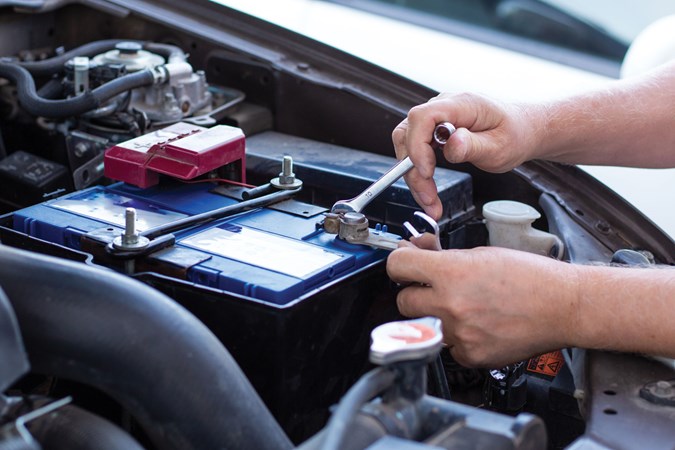
Position and secure the cable’s end so that it is not making contact with anything and, at this point, the battery is isolated. It can’t power the car, and the car can’t drain it.
This is what’s also achieved by the quick-disconnect isolating terminals that you see marketed for classic and some performance cars.
If you’re not going any further, cover the negative clamp or terminal with something non-metallic, to avoid an accidental connection should the cable move back to its original position.
7. Removing the battery
If you want to completely disconnect the battery, for replacement, charging or storage somewhere safe, undo the clamp on the positive side and stow the cable out of the way.
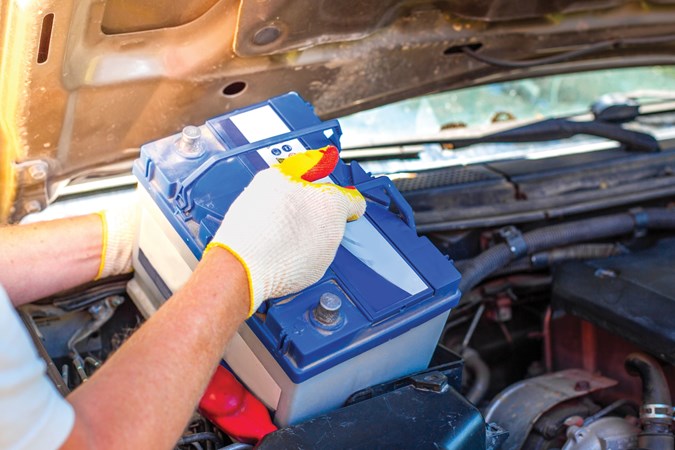
To remove the battery, release any retaining straps or anchors that hold the battery in, and lift it out of the car. Be careful, as many batteries are heavy.
8. Correctly reconnecting the battery
If you have only removed the negative terminal clamp from the battery, simply reattach it and tighten up the fastenings carefully.
You might see and hear some sparks when you reconnect it; don’t worry, this will just be some electrical systems starting to draw power as soon as a circuit is made.
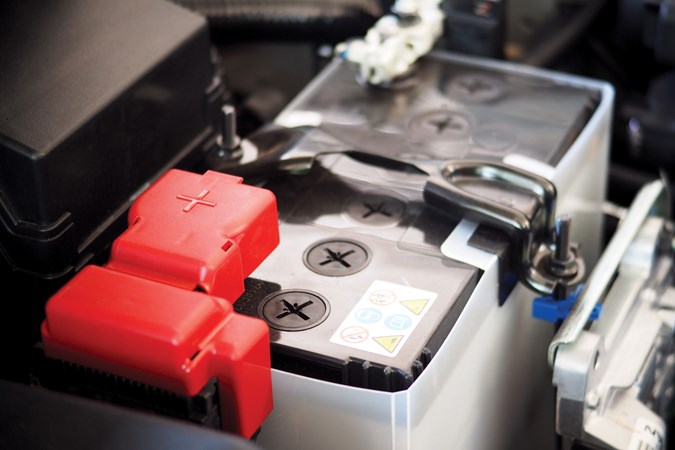
If you have released both the positive and negative terminal clamps, instead start by reattaching the positive cable clamp to the battery’s positive terminal, for safety reasons.
Tighten it up and make sure it is secure, and then reconnect the negative cable clamp to the battery and tighten it up.
FAQs
-
Which battery terminal should I disconnect first on my car battery?
When disconnecting your car battery its important that you start with the negative terminal first. This helps prevent potential short circuits and reduces the risk of sparks.
-
Will a car battery drain if disconnected?
No, once the battery is completely disconnected from the vehicle the battery shouldn't drain. However, if the battery is left in a partially discharged state or if it isn't in optimal condition, it can slowly lose charge over time.
-
Can I disconnect the battery if the car is on?
No, you shoulder never attempt to disconnect your car battery whilst the vehicle is still running. This can cause electrical surges that may damage your vehicle's electronic systems.
-
Will disconnecting the battery reset my car’s settings?
Yes, disconnecting the battery can reset some settings, like your radio pre-sets, clock, and other electronic functions. Be ready to reconfigure these after you reconnect the battery.
Just so you know, we may receive a commission or other compensation from the links on this website - read why you should trust us.


